Fingerboard for Bouldering and Climbing
Let’s look into making your own fingerboard so that you can take your bouldering or climbing to a next level. As you start working your way into more difficult climbing problems it is more likely to get a finger pulley injury or golfer’s elbow injury. With a fingerboard you can improve your finger strength in a control manner, which will enable you to tackle those problems with crimp holds. So let’s get started with a perfect fingerboard adapted to your needs.
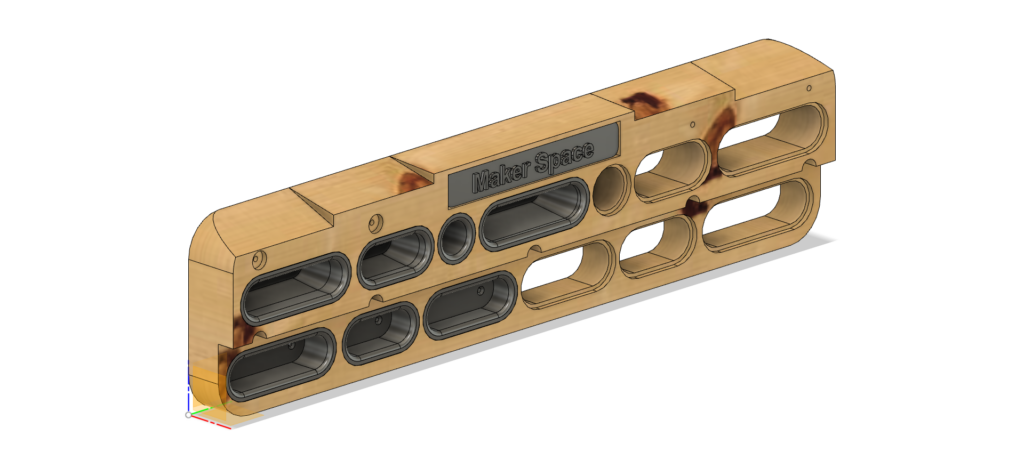
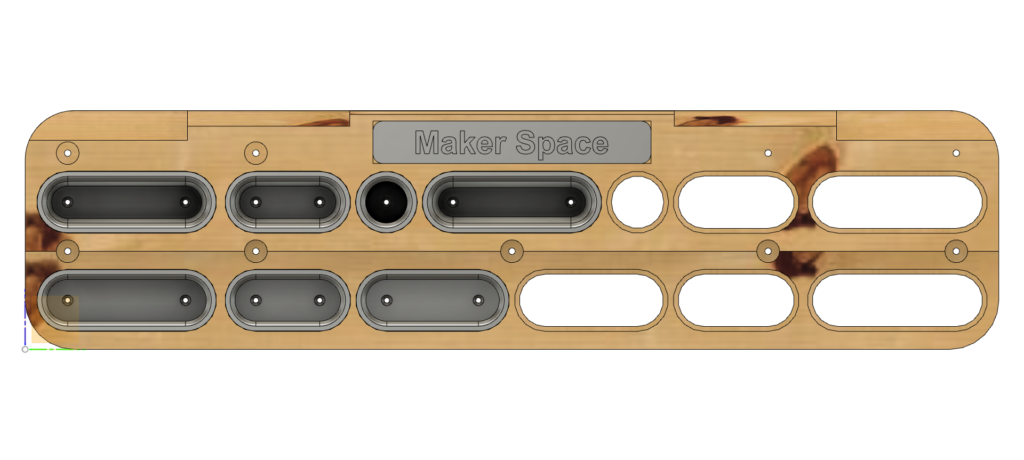
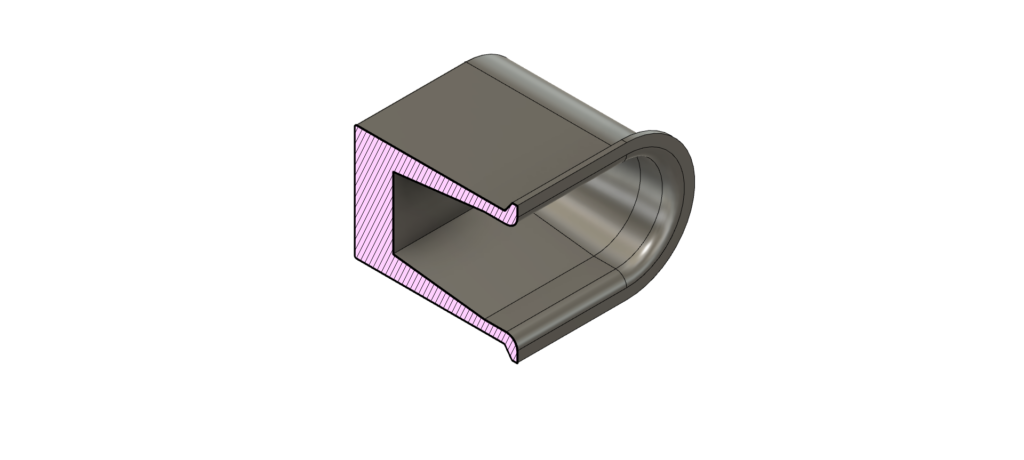
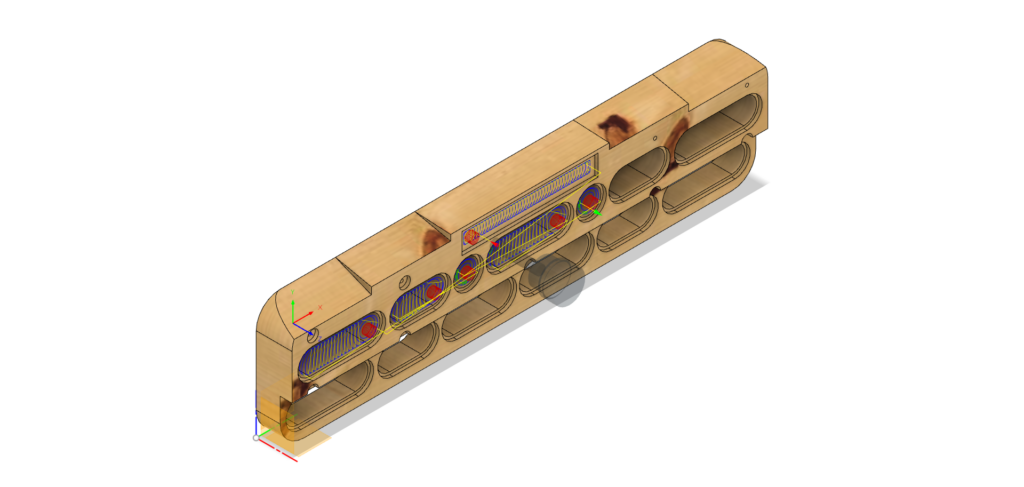
First ask yourself, how do you want your fingerboard to look like and what are you aiming to exercise? You can search for existing products to find inspiration for your fingerboard. Hangboards have a variety of holds like: pockets, jugs, and slopers. For this project, I have selected just two types of holds: pockets and slopers and then modeled the desired shape in Fusion 360.
To make holds customizable, I have decided to 3D print them. Holds can be replaced depending on your climbing level and training needs. They can be made with different depths or angles to increase difficulty.
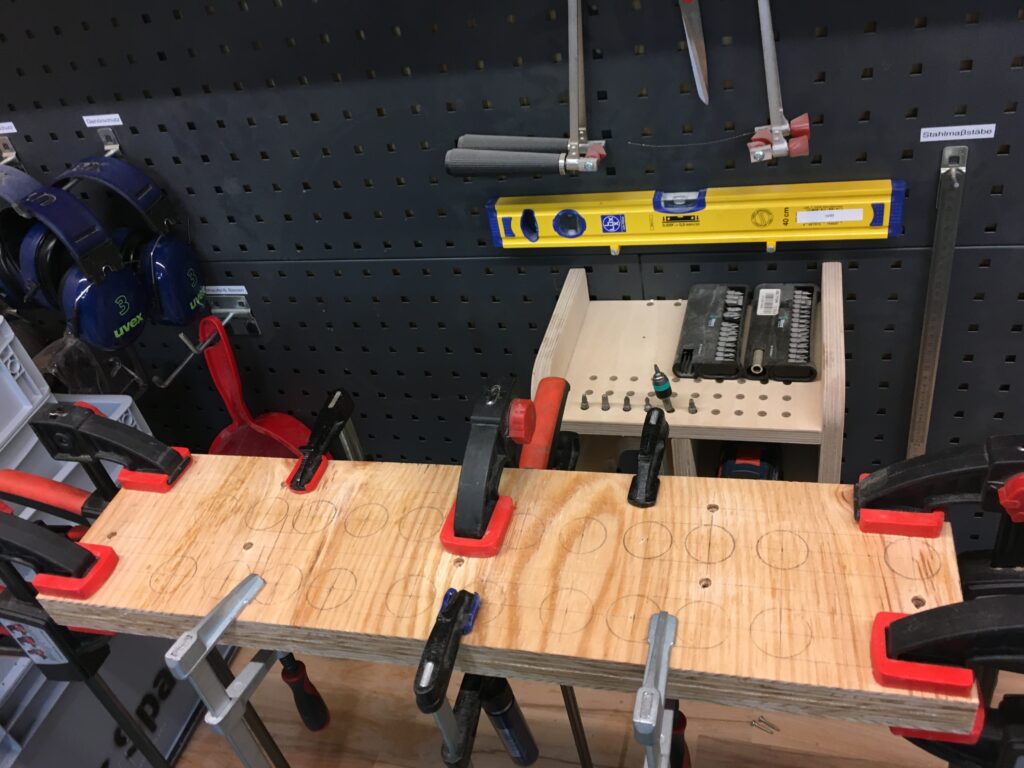
For this project I had some spare plywood available. With a circular saw, I have cut three pieces of plywood to achieve total required depth as shown on the model. Those three pieces were glued together into a block to create stock material for a CNC machine.
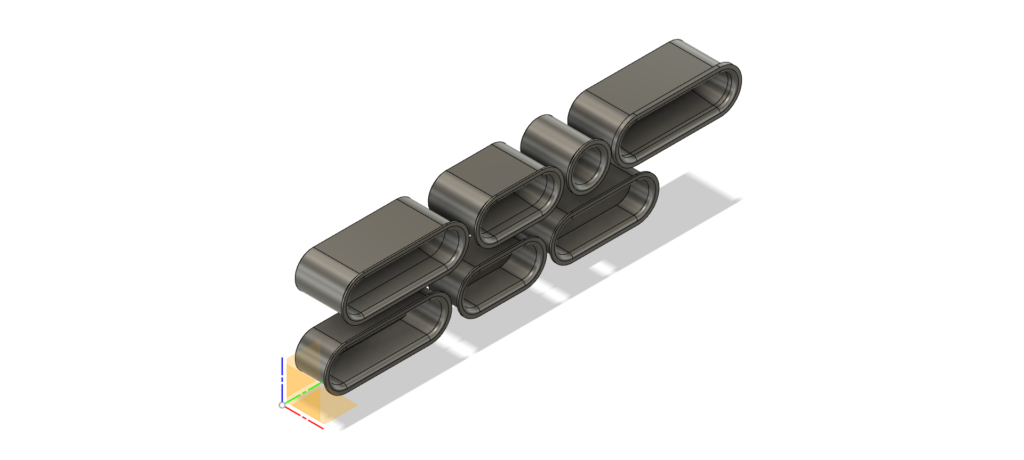
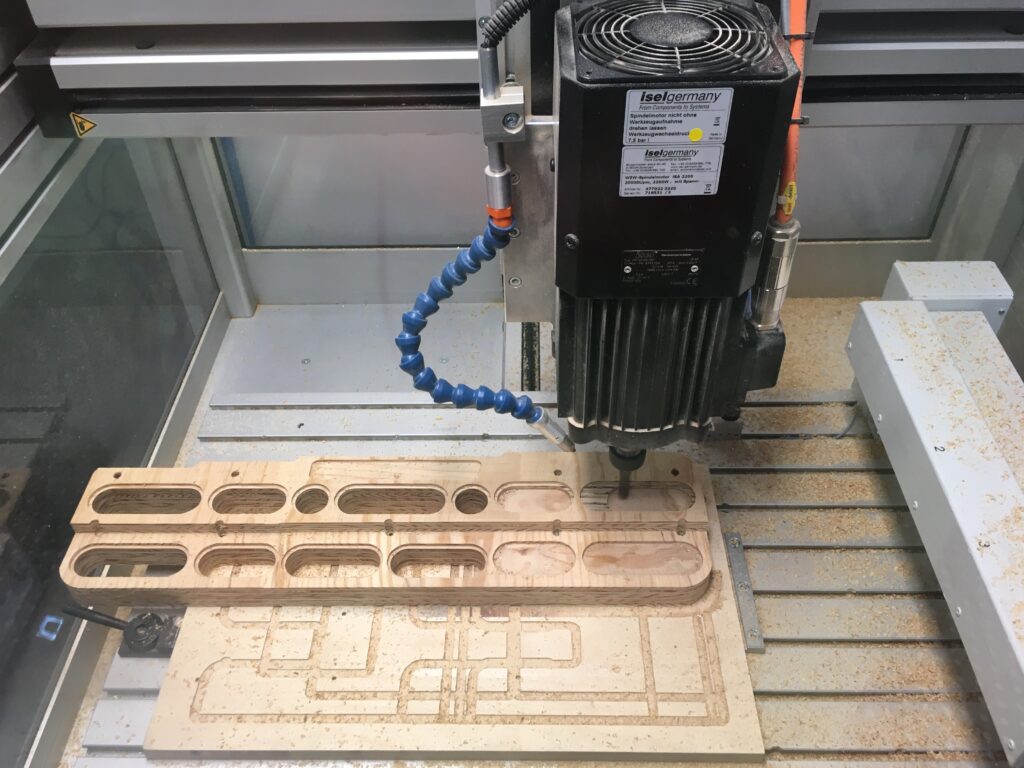
Before we place stock material into a CNC machiene, we have to create paths for a machine to run. These paths are described in G-Code, which is a set of instructions for a CNC machine to know how to take away and where to take away material. This means: endmill speed, cutting feedrate, offsets, clearance, etc. Unfortunately it’s tricky and you can’t avoid learning these things. Good news, there are many good tutorials online. Creating paths is a complex process and takes patience and multiple checks to ensure you don’t ruin your stock material or CNC endmill. Below is just an example of how the paths for the pockets were done.
If your CNC machine working area is big enough, then you can create just one G-Code. In my case, the fingerboard was longer than what could be processed in a CNC machine. I didn’t want to shorten board so I have created two G-Codes. This means also setting up and making zero point alignments for a CNC machine two times.
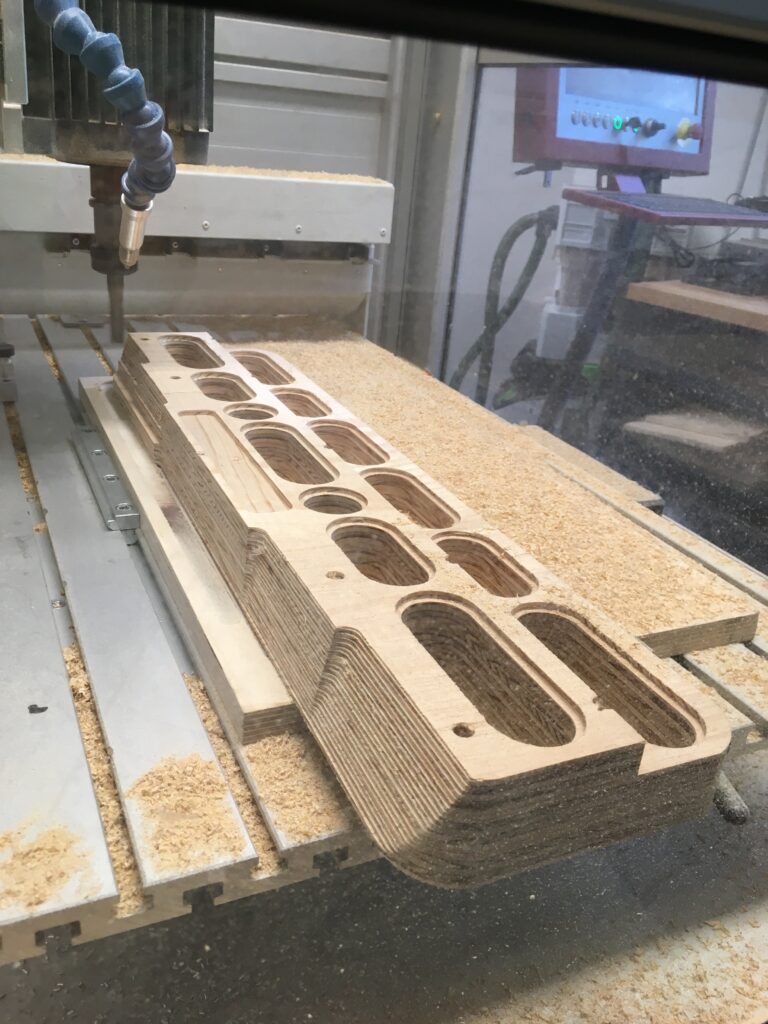
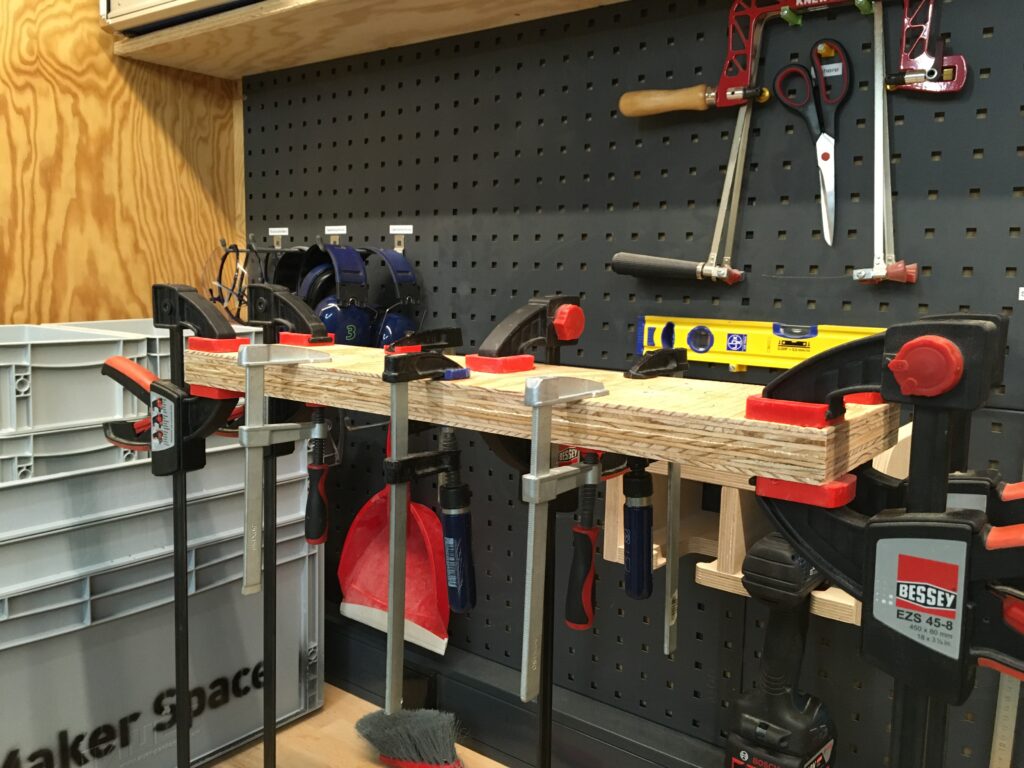
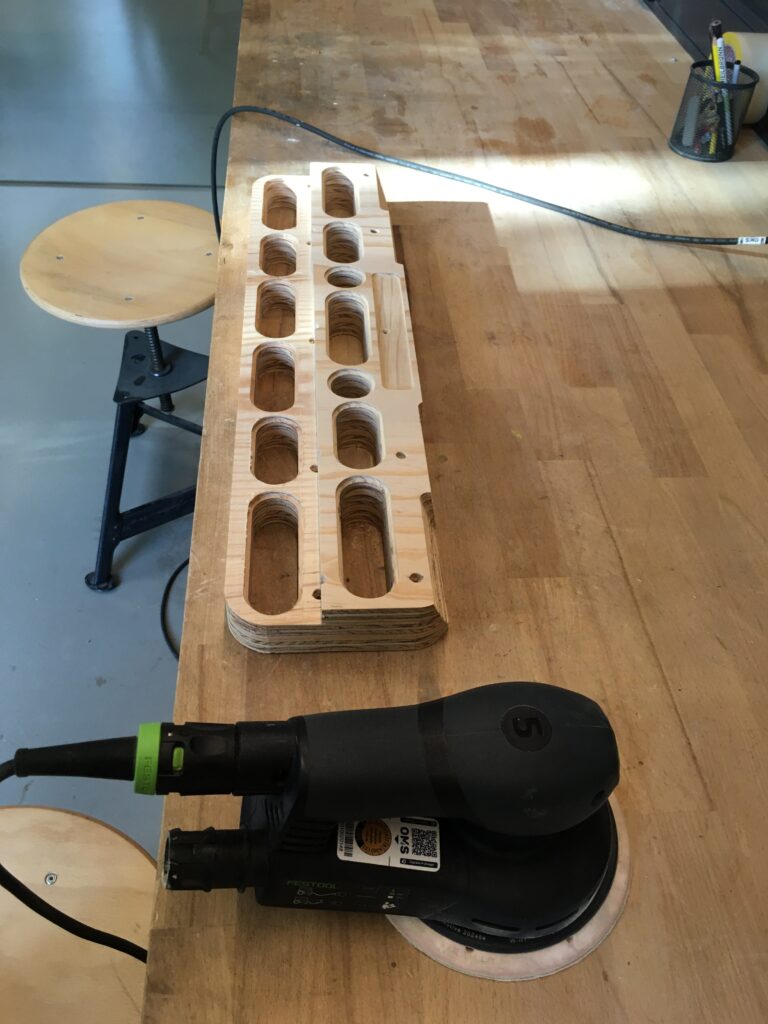
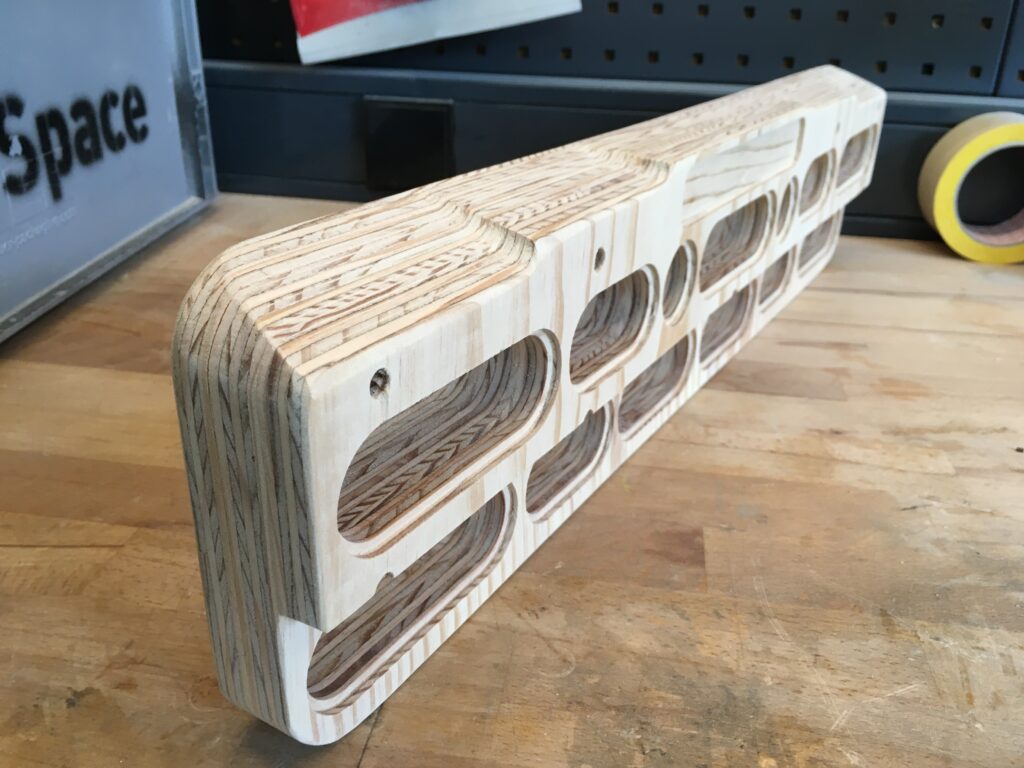
The next step is to post-process with a sanding machine, this will create smooth surface on slopers at the top of a board. This is required because of the step-like texture seen in the picture below. To avoid having this effect you shall use ball shaped endmill, but this will require switching a tool during the machining process. Overall this takes more machining time, so the trick is to find the right step size, and then achieve the rest with a sanding machine. Below is a result after sanding slopers and removing other rough surfaces. We are getting closer to what it’s on the model.
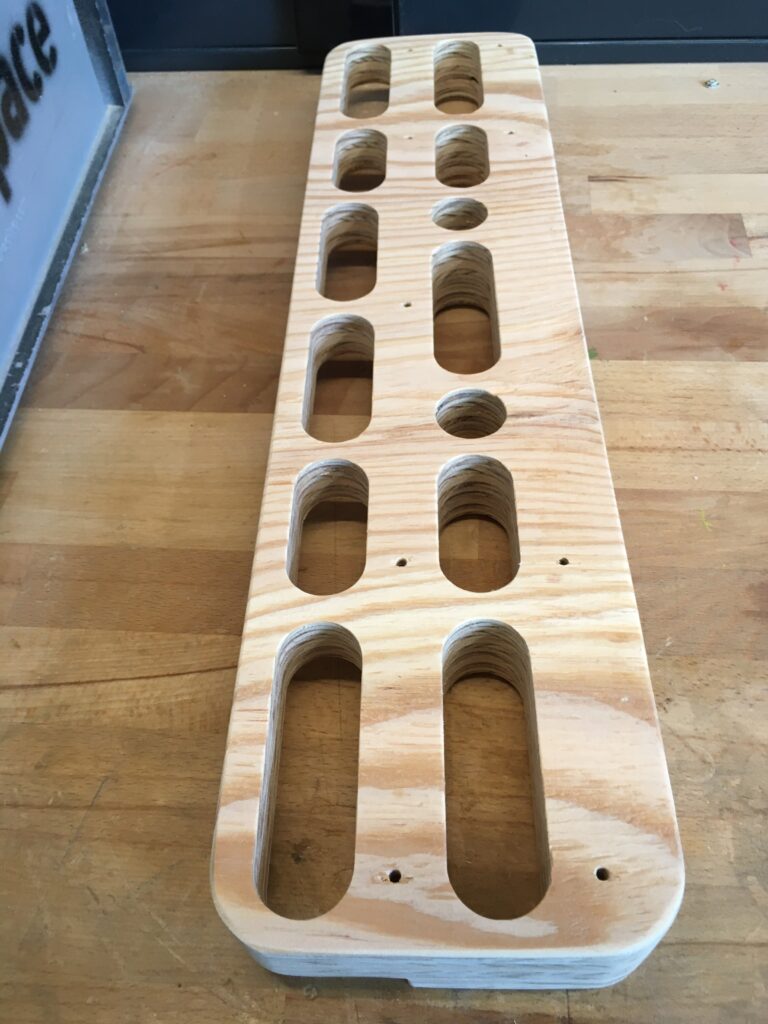
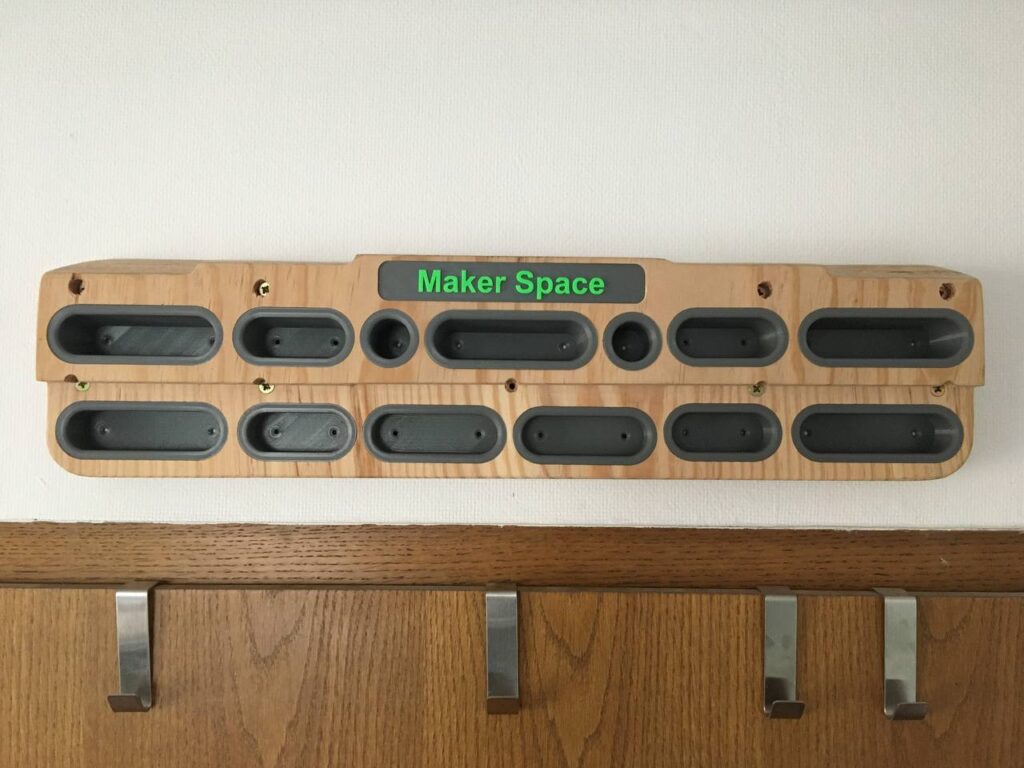
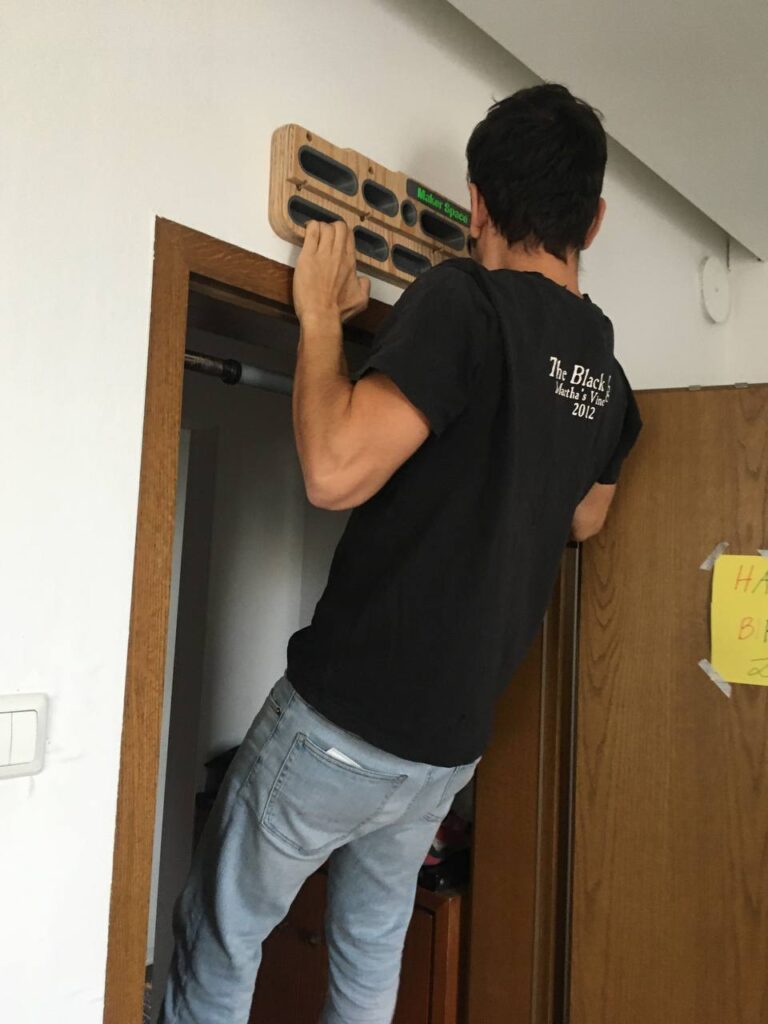
The final step is to print pockets and insert them into our newly made fingerboard. Make them any shape and color you want. Decide where you want to hang your board, drill some holes, put screw anchors, and finally screw the board into place. Here is what my end result looked like. I hope this inspires your new project and improves your bouldering and climbing. What can be better than one hobby enabling your other hobby to be more fun?